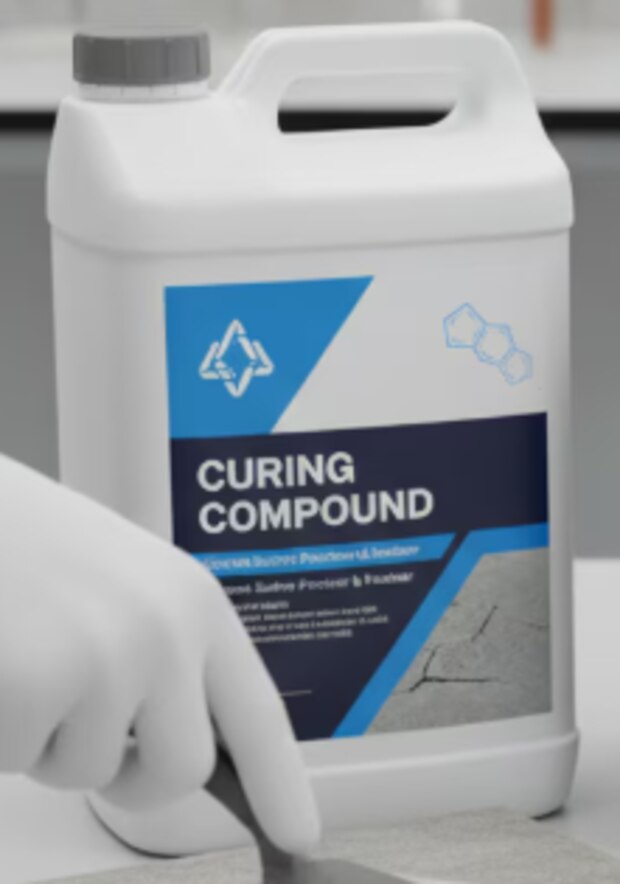
Fresh concrete loses moisture fastest when wind, low humidity, direct sun, or a hot surface draws water out before hydration has progressed. You will learn how to apply a membrane-forming curing compound at the right surface condition, calculate the required quantity, inspect the film, and avoid adhesion or durability problems later.
Key takeaways
- Apply curing compound after finishing, when surface water has disappeared.
- Use the specified coverage rate to create a continuous, even film.
- Protect the fresh membrane from rain, traffic, dust, and damage.
- Remove or prepare the membrane before later bonding work.
How the membrane limits evaporation—and when to apply it
A curing compound forms a continuous film over fresh concrete. That membrane slows water vapour escaping from the surface, reducing moisture loss during the early hydration period while cement reacts with mixing water. This process is membrane curing. It does not add water or prevent freezing and damaging temperature changes.
The application signal is a finished surface with no visible bleed-water sheen or free water, after the final finishing operation has ended. Apply promptly at that point, before the surface begins to dry. The correct time depends on concrete condition rather than a fixed number of minutes after placement.
Applying too early traps bleed water beneath the film and can leave surface damage. Applying too late leaves the concrete unprotected during the highest-risk interval, when wind or low humidity accelerates evaporation. If the surface is still being worked, wait; once finishing is complete and water has disappeared, do not delay.
ASTM C309 evaluates water retention of liquid membrane curing compounds; the commonly specified maximum loss is 0.55 kg/m² after 72 hours. That laboratory result does not prove a continuous field film or establish curing duration, which the project specification sets.
Apply an even film at the specified coverage rate
An even membrane requires the specified coverage rate across the whole surface, not merely a white or glossy appearance. ASTM C309 performance, including the commonly specified maximum water loss of 0.55 kg/m² after 72 hours, does not prove correct field application.
1. Confirm the product label, specification, dilution limit, and required coverage rate. If the rate is 0.20 L/m², a 100 m² slab requires 20 litres, plus the stated allowance for equipment loss. Do not add water or solvent unless the manufacturer permits it.
2. Agitate or mix the compound exactly as directed. Scrape settled pigment into suspension; do not use material containing lumps, separated liquid, or incompatible solvent. Keep the mixture moving during spraying when the instructions require it.
3. Match the spray equipment to the compound’s viscosity and solids content. Use a clean pump, filter, hose, and tip, then make the nozzle selection and pressure setting that produce a uniform fan rather than fine mist. Replace worn or clogged tips.
4. Divide the surface into measured bays and mark the quantity assigned to each bay. Spray in overlapping passes at a steady walking speed, covering edges, joints, penetrations, porous patches, and around obstructions. Apply the specified second coat only after the first coat permits it; never compensate for missed areas with puddles.
5. Check consumption as you work. Compare litres used with square metres covered, and stop to correct the pattern if a bay uses too little or too much. Record batch number, area, quantity, coverage rate, and application time.
Adjust the application for weather and protect the fresh film
Apply the compound as soon as finishing is complete and bleed water has disappeared; weather determines how quickly you must move. Do not wait for the surface to look dry, especially during hot weather concreting.
- High concrete temperature or a hot surface accelerates evaporation. Schedule finishing during cooler periods, reduce delays between finishing and spraying, and use approved evaporation-control measures when specified.
- Wind and evaporation can dry one area before the film becomes continuous. Install windbreaks, use fogging before finishing where appropriate, and spray promptly after the surface condition is ready.
- Low relative humidity increases moisture loss. Treat it as a high-evaporation condition and protect exposed edges and corners particularly carefully.
- Shade and high relative humidity slow drying. Keep checking for remaining bleed water instead of applying by the clock; spraying over water can dilute or emulsify the compound.
- Rain can wash out a fresh film. Do not apply when rain is imminent, and use a cover that does not touch the surface until the film has set.
- Low concrete temperature does not make the compound thermal protection. Monitor concrete temperature and use insulation or another approved cold-weather system to prevent freezing and achieve the specified early-age strength.
After spraying, keep workers, equipment, dust, and runoff away from the film. Protect the slab from direct sun and strong drafts when the film is still wet, and inspect for shiny gaps or streaks before releasing the area.
Choose surfaces carefully when later bonding is part of the work
A curing membrane suits concrete surfaces that will remain exposed or receive no bonded finish: slabs, pavements, roads, decks and precast units are common examples. The decision changes when another material must adhere to the concrete.
| Surface | Membrane curing fit | Requirement before later bonding |
|---|---|---|
| Slabs | Suitable for exposed floors or unbonded finishes | Remove or mechanically abrade the film before a bonded topping, coating, plaster, membrane or tile adhesive |
| Pavements and roads | Suitable where the cured concrete remains the wearing surface | Remove residue where overlays, sealers or bonded repairs are specified |
| Decks | Suitable for exposed bridge or parking-deck concrete | Prepare the surface before waterproofing membranes, traffic coatings or bonded toppings |
| Precast units | Suitable when units remain exposed or receive a compatible finish | Remove or abrade the film before plaster, tile adhesive, coating or a bonded façade system |
Do not assume that a curing compound will disappear before the next trade arrives. Unless the product data sheet documents compatibility with the exact topping or adhesive system, remove the film by shotblasting, grinding, scarifying or another approved method, then confirm cleanliness and profile with the system manufacturer.
A glossy, waxy or powdery residue is a warning sign; leaving it in place can cause peeling or delamination.
Ask Wizplast Chemicals Pvt. Ltd. for written compatibility and surface-preparation instructions for the selected curing compound, not merely its coverage rate. Run a small adhesion test when the specification does not identify an approved preparation method.
Related product
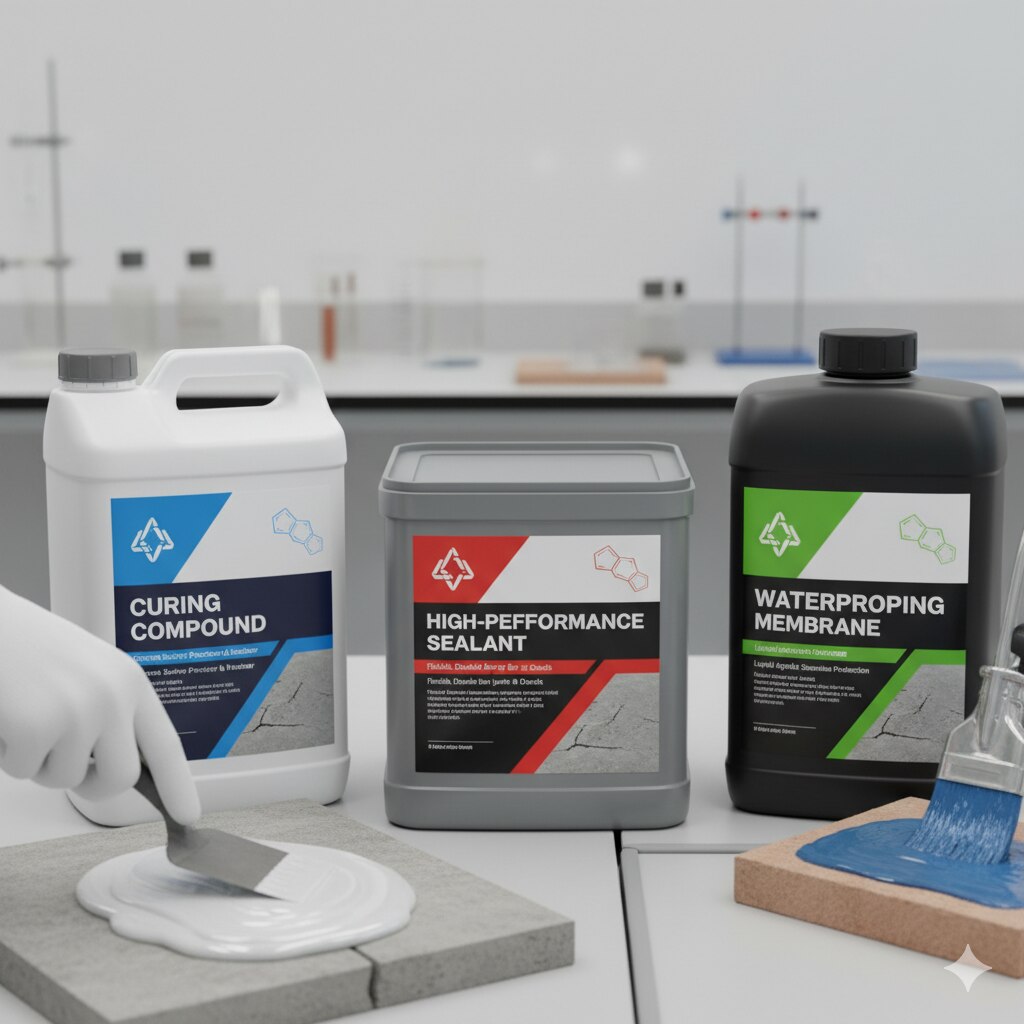 | Waterproofing Wizplast Chemicals Pvt. Ltd. offers premium-quality Curing Compounds and Sealants designed to deliver superior waterproofing and surface protection... View product → |
Check the specification, repair field failures, and define curing duration
A specification that names ASTM C309 is not asking for the same performance as ASTM C1315. C309 commonly limits water loss to 0.55 kg/m² after 72 hours; C1315 adds tighter water retention plus reflectance and durability requirements. Neither laboratory result proves that your field film was continuous.
Use this field-failure checklist:
- Bleeding: wait until bleed water disappears before application. Do not seal standing water into the surface.
- Dust or excessive dryness: remove loose dust and check whether the surface has weakened or begun drying prematurely. Correct the concrete condition before applying compound; do not use the film to hide dusting.
- Contamination: remove oil, mud, curing residue, and other material that prevents adhesion. This is surface preparation, not cosmetic cleaning.
- Cracking: record and assess cracks immediately. A curing compound limits evaporation; it does not repair plastic-shrinkage or structural cracking.
- Incomplete coverage: inspect edges, joints, penetrations, porous patches, and areas near clogged spray tips. Reapply missed or damaged areas at the specified rate, following the product’s recoating window.
- Excessive application: remove puddles or runs where the product permits, because a thick film can delay drying and interfere with later bonding.
Set the curing duration in the project specification, not from the product label alone. Seven days is common for conventional concrete; blended-cement, low-water-cement-ratio, high-performance, or durability-critical concrete may require longer curing or a strength or maturity endpoint. Keep thermal protection and temperature monitoring in place because the membrane does not prevent freezing.
Frequently asked questions
When should you apply a concrete curing compound?
Apply it after finishing and once surface water has disappeared, before fresh concrete loses significant moisture.
How do you apply curing compound evenly?
Use suitable spray equipment and maintain the specified coverage rate so the surface receives a continuous film without missed areas or pooling.
How should weather affect curing compound application?
Adjust timing and protection for heat, wind, low humidity, rain, and cold, then shield the fresh film from damage while it develops.
Can curing compound remain beneath a later coating or bonded repair?
Only when the specification and bonding system permit it. Otherwise remove the membrane or prepare the surface as required before bonding.
How do you handle a failed or damaged curing-compound film?
Inspect for missed areas, streaks, puddles, or damaged sections; repair the affected curing protection and record the action against the project specification.