A joint fails when its sealant, geometry, substrate preparation, or water-control detail does not match the movement and exposure the joint must withstand. By the end, you will be able to distinguish sealants from waterstops and injection systems, define the information a supplier must provide, and compare a complete joint-protection system rather than a product name alone.
Key takeaways
- Record joint width, depth, movement, substrates, and exposure before selecting materials.
- Use a backer rod to control sealant depth and prevent three-sided adhesion.
- Match sealant chemistry to substrate compatibility, temperature, moisture, and chemical exposure.
- Choose waterstops or injection systems when water travels through concrete joints or cracks.
Start with the Joint: Movement, Geometry, and Exposure
Determine the joint-protection solution by recording joint type, width, depth, expected movement, substrates, and exposure before choosing a sealant or bead size.
| Joint type | What to establish | Protection implication |
|---|---|---|
| movement joint or expansion joint | Thermal, shrinkage, seismic, or settlement movement | Use a movement-capable sealant system; consider a centerbulb waterstop in concrete |
| construction joint | Planned concrete pour break and water path | Use a PVC waterstop, keyed profile, or sealant where the exposed joint requires it |
| control joint or isolation joint | Crack-control purpose or separation from another structure | Confirm whether the joint opens, closes, or remains restrained before sizing the sealant |
| façade joint, window perimeter joint, or floor-to-wall junction | Substrate changes, drainage, abrasion, and water pressure | Specify compatible interfaces, recesses, and supplementary barriers where surface sealant cannot block the water path |
Under ASTM C920, Class 25 accommodates ±25% movement and Class 50 accommodates ±50% under standard test conditions. Neither rating automatically qualifies the complete joint assembly.
Design approximately a 2:1 joint-width-to-sealant-depth ratio unless the product data sheet states otherwise. Install a correctly sized backer rod or bond-breaker tape so the sealant bonds to two sides, not three; ASTM C1193 treats this geometry as joint design.
For concrete, coatings, primers, or unusual substrates, perform project-specific adhesion checks using ASTM C1521 and verify cleanliness, moisture, and primer compatibility across the work. An integral waterproofing admixture cannot replace a movement-capable system at an active joint.
Match Sealant Chemistry to Substrate and Service Conditions
Choose polyurethane sealant for many concrete and masonry joints where movement, abrasion resistance, and paintability matter. Choose silicone sealant for exposed joints where ultraviolet radiation, ozone, and weathering dominate, especially around glass and metal.
| Chemistry | Substrates and service | Main limitation |
|---|---|---|
| Polyurethane sealant | Concrete, masonry, metal, tile, and painted surfaces; movement joints, floor-to-wall junctions, and moderate weather exposure | Verify damp-substrate tolerance, primer needs, and resistance to oils or chemicals |
| Silicone sealant | Glass, metal, stone, and weather-exposed façades; high ultraviolet, ozone, and temperature exposure | Many cured products cannot be painted; check compatibility with porous stone, coatings, and laminated materials |
| Polysulfide sealant | Concrete, masonry, metal, and chemically demanding, immersed, or fuel-exposed joints | Slower cure and harder tooling; require product-specific immersion and chemical-resistance data |
| MS polymer | Concrete, masonry, metal, glass, stone, tile, and painted surfaces where broad adhesion and paintability are needed | Confirm movement class, moisture tolerance, and resistance to the actual chemicals |
Match the sealant to tested movement, not a nominal bead size. Under ASTM C920, Class 25 handles ±25% movement and Class 50 handles ±50% under standard test conditions; cohesive splitting follows when the joint exceeds that rating.
For concrete, coatings, primers, or unusual substrates, request project-specific adhesion testing. ASTM C1521 provides a field method, but a pass at one location does not prove cleanliness, moisture condition, primer compatibility, or adhesion across the whole joint. Verify chemical exposure, temperature, immersion, and abrasion data before approval.
Build the Joint Correctly: Preparation, Backer Rod, and Cure
Adhesion fails before the sealant is applied if concrete carries laitance, dust, oil, curing compound, or loose material. Clean the joint to sound material, remove standing water, and confirm the surface condition matches the product data sheet.
Use primer only where specified; an incompatible or poorly cured primer can weaken the bond instead of improving it.
Control the joint geometry before filling it:
- Install a backer rod slightly larger than the opening so it stays compressed and stable. Do not puncture closed-cell rod; released gas can create bubbles in moisture-curing sealant. Use bond-breaker tape where a rod cannot provide reliable separation.
- Form two-sided adhesion only. The sealant must not bond to the joint bottom, because three-sided adhesion concentrates stress and promotes cohesive splitting. Follow ASTM C1193 for bond-breaker selection and sealant geometry.
- Target a 2:1 joint width to sealant depth ratio unless the product data sheet states another limit. Excess depth increases restraint, cure time, and cost without proportionally increasing movement capacity.
- Apply masking to keep edges clean, then complete tooling immediately. Compact the sealant against both joint faces, remove voids, and leave the specified recess rather than dragging air into the bead.
Protect the joint from rain, wash water, dust, and movement until cure is complete. Test adhesion on project substrates with ASTM C1521 when conditions are unusual or primers are involved; a pass at one location does not prove every section is clean, dry, and correctly prepared.
Use Waterstops, Integral Systems, and Injection for the Right Water Path
Use an embedded barrier when water can travel through the concrete joint, not only across its exposed face. A sealant closes the surface gap; it does not replace a cast-in waterstop or repair a leaking joint behind the concrete.
Choose the added system by the water path:
- Use a PVC waterstop in a concrete construction or expansion joint. A centerbulb waterstop accommodates expected movement; a dumbbell waterstop suits many construction joints and keyed restraint conditions. Splice it correctly and hold it in position—poor consolidation, honeycombing, or displacement creates a leak beside the barrier.
- Use a hydrophilic waterstop at a sound, confined construction joint where later water contact can activate swelling. Keep it dry and protected before placement. Do not use it as a universal substitute for a centerbulb PVC profile in an active expansion joint.
- Use integral crystalline waterproofing in the concrete mix or cementitious system to reduce permeability and help seal certain capillary or shrinkage cracks. It cannot bridge an active movement joint, so retain the sealant and joint-specific waterstop.
- Use injection resin for a remedial or secondary barrier after water enters the joint. Water-reactive polyurethane foam injection suits active leaks by forming flexible foam; epoxy injection suits rigid structural crack bonding, not a joint that must keep moving.
Seal the exposed joint after the underlying water-control system is installed and checked. Injection does not correct a badly detailed original joint; it buys access to a repair path.
Evaluate the Supplier’s Complete Joint-Protection Package
Approve the joint system only after the supplier submits evidence for the complete assembly, not just a sealant brochure. A nominal bead size proves little: ASTM C920 Class 25 means ±25% movement and Class 50 means ±50% under test conditions, not that the finished joint will achieve that movement capability.
1. Request the technical data sheet for the exact product and accessories. It must state compatible substrates, joint width and depth limits, the 2:1 width-to-depth guidance, primer and backer requirements, dosage, coverage, pot life, cure time, storage temperature, and the required batch number.
2. Demand a product test report identifying ASTM C920 classification and ISO 11600 classification. Check its movement capability, tensile adhesion, hardness, elongation, water pressure resistance, and ASTM C1248 staining result. Reject generic laboratory claims that do not identify the tested formulation.
3. Require project-specific adhesion testing on the actual concrete, coating, metal, glass, stone, or damp substrate. ASTM C1521 provides a field method, but one passing location does not excuse checks for contamination, moisture, primer compatibility, three-sided adhesion, or joint geometry.
4. Obtain the installation procedure, repair limits, tooling instructions, and waterstop-splicing details. Ask who will inspect preparation, bead depth, backer-rod placement, and curing before water exposure.
5. If Wizplast Chemicals Pvt. Ltd. proposes a curing compound or coating with the sealant, request compatibility evidence; waterproofing performance alone does not prove movement-joint adhesion.
Related product
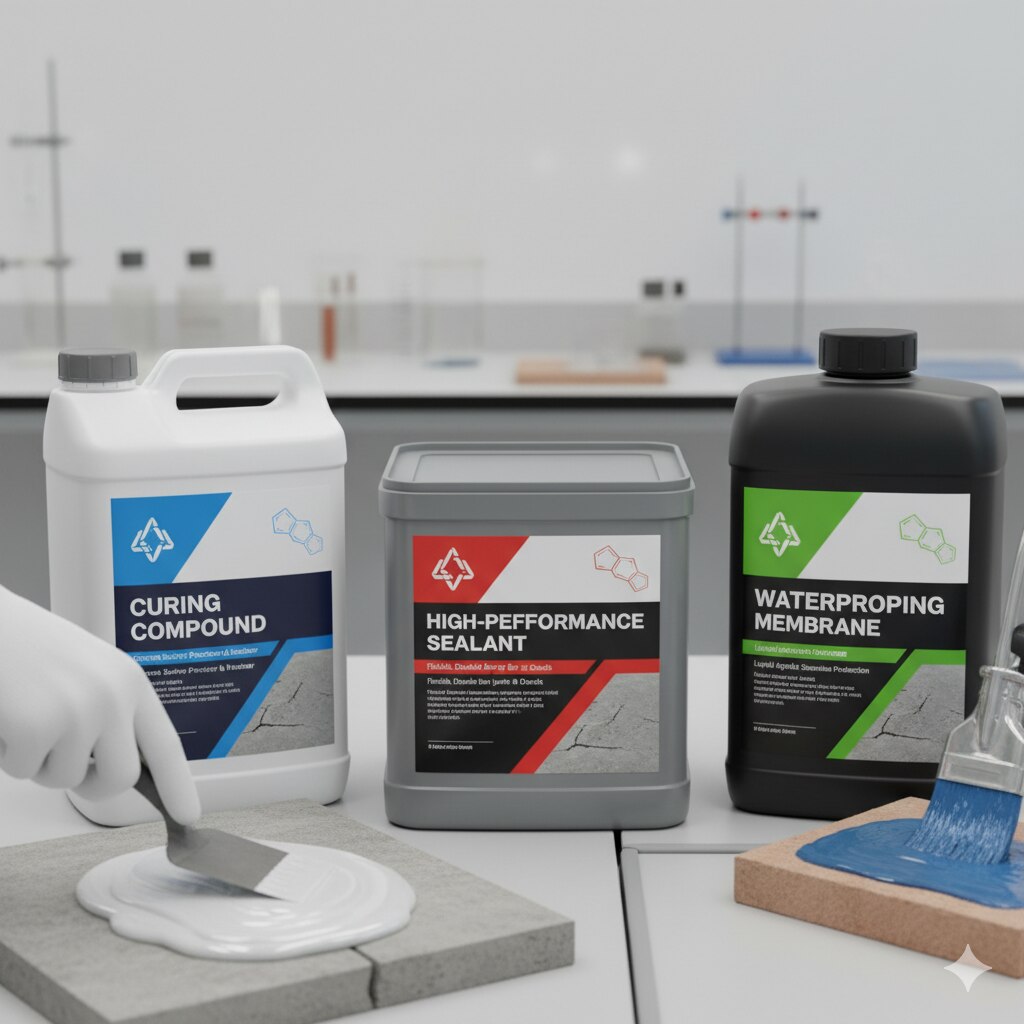 | Waterproofing Wizplast Chemicals Pvt. Ltd. offers premium-quality Curing Compounds and Sealants designed to deliver superior waterproofing and surface protection... View product → |
Frequently asked questions
What information should you record before choosing a joint-protection solution?
Record the joint type, width, depth, expected movement, adjoining substrates, temperature range, moisture, chemical exposure, and water pressure.
Why is a backer rod used in a sealant joint?
A backer rod controls sealant depth, supports the bead, and prevents adhesion to the joint’s third surface, which allows designed movement.
How do you match sealant chemistry to a construction joint?
Check the sealant’s adhesion to each substrate, movement capability, cure requirements, temperature range, moisture tolerance, and resistance to chemicals or ultraviolet exposure.
When should you use a waterstop or injection system instead of surface sealant?
Use a waterstop for planned concrete joints and consider injection when water follows a crack, construction joint, or inaccessible path through hardened concrete.
What should you ask an industrial sealant supplier to provide?
Ask for technical data, application instructions, compatible primers, movement and temperature limits, joint-sizing guidance, batch identification, shelf life, and installation support.